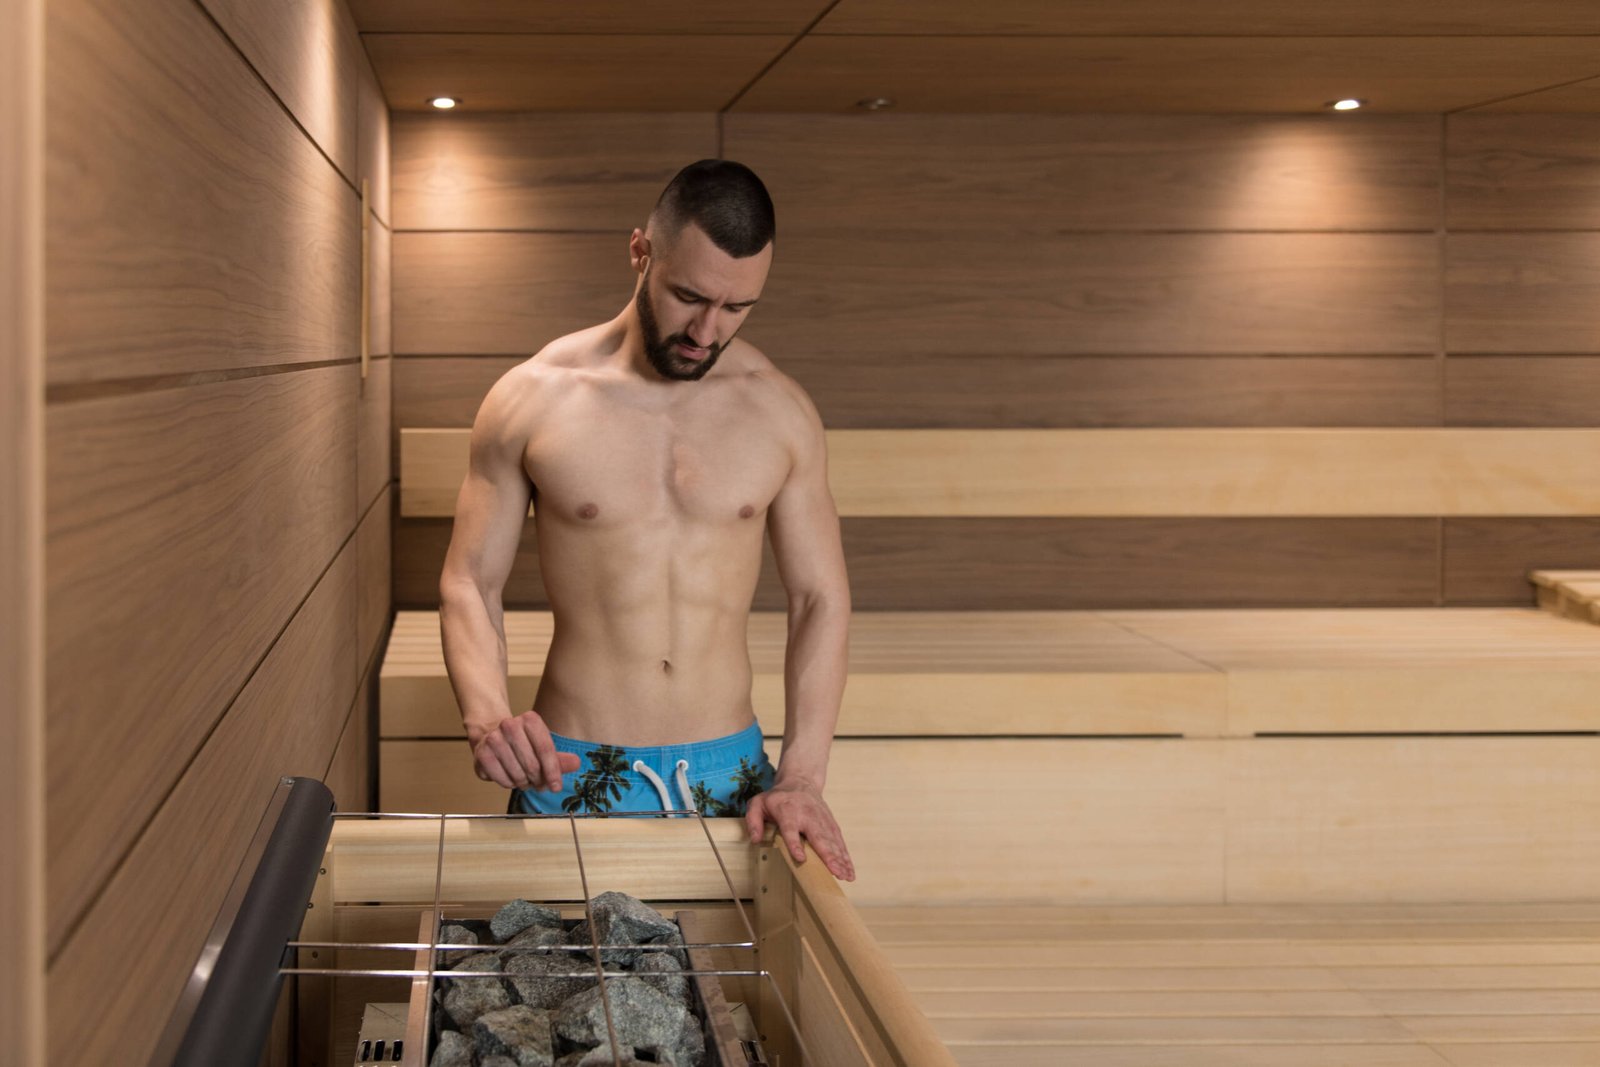
Getting your room sauna-ready
How to Prepare a Bathroom or Spare Room for a Home Sauna: To prepare a bathroom or spare room for sauna installation, measure the space (including door swing and heater clearances), make sure the floor is level, waterproof and heat-tolerant, have a licensed electrician install a dedicated circuit near the sauna, plan fresh-air intake and exhaust, protect walls from moisture with insulation and a vapor barrier, clear a delivery path for the panels, and plan a shower or cool-down area nearby. Infrared saunas need less preparation than traditional ones.
Most home saunas end up in one of two places: a bathroom or a spare room. Both can work beautifully.
But good preparation is what separates a smooth, one-day installation from weeks of delays and surprise costs.
This step-by-step guide shows you exactly how to get your room ready, whether you’re installing a compact infrared cabin or a custom traditional sauna.
Bathroom or spare room: which is better for a sauna?
Both options have clear advantages. The right choice depends on your space, routine and budget.
|
Factor |
Bathroom |
Spare room |
|---|---|---|
|
Shower access |
Right next to the sauna |
Needs a nearby bathroom |
|
Floor |
Usually tiled, waterproof and drained |
Often carpet, wood or laminate that may need changing |
|
Space |
Often tight; may limit sauna size |
More room for larger saunas and a lounge area |
|
Moisture |
Higher humidity from showers and baths |
Drier, easier to control |
|
Electrical safety |
Stricter rules near water (zones) |
Simpler to wire |
|
Ventilation |
Usually has an exhaust fan already |
May need new vents added |
|
Best for |
Compact 1–2 person saunas, daily use |
2–6 person saunas, home spa or gym setups |
Bottom line: A bathroom is ideal for convenience. A spare room is ideal for size and flexibility. Either way, the preparation steps below apply.
Step 1: Measure the space accurately
Good measurements prevent the most common installation headache: a sauna that doesn’t fit.
What to measure
- Floor length and width where the sauna will stand
- Ceiling height (traditional saunas are often around 2.0–2.1 m tall externally)
- Door swing of the sauna door and the room door
- Clearances around the sauna for ventilation, as specified by the manufacturer
- Obstacles such as windows, radiators, AC units, sockets, pipes and sloped ceilings
Typical space needs
|
Sauna size |
Approximate footprint |
|---|---|
|
1 person infrared |
About 0.9 × 0.9 m |
|
2 person infrared or traditional |
About 1.2 × 1.2 m |
|
3–4 person |
About 1.8 × 1.5 m |
|
5–6 person |
About 2.0 × 2.0 m or more |
Also leave space outside the sauna to step out, dry off and cool down.
Tip: Mark the sauna’s outline on the floor with masking tape. It’s the easiest way to check it feels right in the room.
Step 2: Check the floor and structure
A sauna is heavy, hot and occasionally wet. The floor beneath it must be up to the job.
The ideal sauna floor is:
- Level: an uneven floor puts stress on panels and the door
- Solid: able to support the sauna, heater, stones and bathers
- Water-resistant: ceramic tile, porcelain, concrete or vinyl work well
- Heat-tolerant: avoid materials that warp or melt under warm conditions
Floors to avoid or replace
- Carpet: traps moisture and can become a mold and fire risk
- Solid hardwood or laminate: may warp from heat and moisture
- Uneven or damaged tiles: fix and level them first
In a spare room, you can often lay tiles or a waterproof vinyl floor in the sauna area only. In a bathroom, existing tiles usually work perfectly.How to Prepare a Bathroom or Spare Room for a Home Sauna
Upper floors and older homes
If the sauna is going upstairs or into an older building, ask your installer or a structural engineer to confirm the floor can carry the load.
Step 3: Prepare the electrical supply
Electrical preparation is the most important step, and it must always be done by a licensed electrician.
What your electrician should check
- Heater power rating: traditional heaters often draw several kilowatts; infrared saunas usually draw less
- Supply capacity: whether your home’s main supply can handle the extra load
- Dedicated circuit: most saunas need their own circuit and breaker, with the correct cable size
- Single or three-phase: some larger heaters need three-phase power
- Earth-leakage (RCD) protection as required by local rules and the manufacturer
- Connection point: an isolator or junction box in the position shown in the sauna’s installation manual
Bathroom electrical safety
Bathrooms have strict rules about electrical equipment near baths and showers. The sauna’s control panel, heater and connection point must be positioned safely outside wet zones or rated for them.
Always follow local regulations and the manufacturer’s instructions.
Tip: Share the sauna’s spec sheet with your electrician before you order. That way, the circuit is ready when the sauna arrives.
Step 4: Plan ventilation and air conditioning
A sauna needs fresh air during use and a way to dry out afterward.
Traditional sauna ventilation
- Fresh air intake low on the wall near or under the heater
- Exhaust outlet higher up on the opposite wall or under the bench
- A small gap under the sauna door
- Room ventilation so warm, moist air leaving the sauna can escape the room
Room ventilation checklist
- A working exhaust fan or window in the room
- Space around the sauna for air to circulate, as per the manual
- Exhaust air not blown into the AC return or ceiling void
- AC vents not blowing directly on the sauna cabin
In hot climates like the UAE, where rooms are air-conditioned most of the year, plan the sauna’s position so cold AC air and hot sauna air don’t meet inside walls. This prevents condensation and mold.
Step 5: Prepare the walls and ceiling
How much wall preparation you need depends on whether you’re installing a freestanding cabin or a built-in sauna.
Freestanding (modular) saunas
These have their own insulated walls and roof. The room’s walls simply need to be clear, dry and at the right distance from the cabin.
Built-in (custom) saunas
Here, the room’s walls become part of the sauna. They typically need:
- Framing (timber battens) to create a gap for insulation
- Heat-rated insulation such as mineral wool
- A foil vapor barrier with taped seams, facing the hot side
- An air gap before the wood paneling
- Wood paneling fixed to the battens
If there are tiles on the existing walls, the installer can usually build the framing in front of them. Ask before removing anything.
Lowering the ceiling
A lower ceiling heats faster and costs less to run. Built-in saunas often have a dropped ceiling at about 2.0–2.2 m, even if the room is taller.
Step 6: Protect the room from moisture
A sauna produces heat and some humidity, especially when water is thrown on the stones. That moisture needs a safe place to go.
In a spare room
- Protect nearby walls and furniture from warm, moist air
- Make sure the vapor barrier is continuous on built-in saunas
- Use moisture-resistant paint on surrounding walls if needed
- Remove or relocate wooden furniture, books and electronics close to the sauna
In a bathroom
- Keep the sauna away from direct shower spray
- Check existing grout and silicone for cracks
- Make sure the bathroom exhaust fan is working and sized for the room
- Plan for the extra humidity from both the shower and the sauna
Step 7: Plan access, delivery and a clear workspace
Sauna panels, benches and heaters are large and heavy. Plan the route from the front door to the room in advance.
Delivery checklist
- Measure doorways, corridors, stair turns and lift sizes along the route
- Compare them with the largest panel dimensions from the supplier
- Arrange parking or building access for the delivery vehicle
- Book the service lift and notify building management if you live in an apartment or managed community
Preparing the room on installation day
- Remove furniture, rugs, curtains and décor from the room
- Take down wall art and shelves near the sauna area
- Protect floors along the route with sheets or boards
- Make sure there’s light, a power socket for tools and space to unpack
- Keep children and pets away from the work area
Step 8: Plan the shower and cool-down area
The sauna experience doesn’t end when you step out. A good cool-down area completes it.
- Shower nearby: a quick cool rinse is part of traditional sauna culture
- Towel hooks or a heated towel rail close to the sauna door
- A place to sit and relax, such as a bench or lounge chair
- Water station to rehydrate
- Non-slip flooring where people step out wet
In a spare room without a bathroom, plan the shortest, safest route to the nearest shower.
Extra tips for bathroom sauna installations
- Choose a compact model. Corner saunas and 1–2 person infrared units fit bathrooms well.
- Use a glass front. It keeps the bathroom feeling open and bright.
- Position away from the shower spray and keep the control panel out of wet zones.
- Consider a bathroom remodel at the same time. It’s the most cost-effective time to add circuits, move vents or retile.
- Upgrade the exhaust fan if the current one struggles with shower steam.
- Think about a sauna-and-shower combination if you’re starting from scratch.
Extra tips for spare room sauna installations
- Replace carpet in the sauna zone with tiles or waterproof vinyl.
- Create a mini home spa. Add a lounge chair, plants, soft lighting and a towel rack outside the sauna.
- Keep electronics at a distance. TVs, computers and books shouldn’t sit near the sauna’s warm air.
- Soundproofing is optional but nice if the room is near bedrooms.
- Use window blinds that handle warmth and humidity.
- Add a water point or small sink if budget and plumbing allow.
Traditional vs infrared sauna: how preparation differs
|
Preparation area |
Traditional sauna |
Infrared sauna |
|---|---|---|
|
Electrical |
Dedicated high-power circuit; sometimes three-phase |
Often a standard dedicated circuit; check the manual |
|
Ventilation |
Intake and exhaust vents needed |
Basic ventilation; less moisture |
|
Moisture |
Steam from water on stones |
Little to no moisture |
|
Floor |
Water- and heat-resistant |
Level and dry; fewer moisture concerns |
|
Wall prep (built-in) |
Insulation and vapor barrier |
Usually freestanding cabin; minimal prep |
|
Typical install time |
A few days to a few weeks |
Often 1–2 days |
Infrared saunas are generally easier for bathrooms and smaller spare rooms. Traditional saunas need more preparation but deliver the classic hot, steamy experience.How to Prepare a Bathroom or Spare Room for a Home Sauna.
Your pre-installation checklist
Print this out and tick each item before installation day.
- Sauna model and size confirmed
- Room measured, including door swing and clearances
- Floor level, solid and water-resistant
- Dedicated electrical circuit installed by a licensed electrician
- Ventilation plan agreed with the installer
- AC vents and returns positioned away from the sauna
- Wall and ceiling prep done (built-in saunas)
- Delivery route measured and cleared
- Room emptied and floors protected
- Shower and cool-down area planned
- Any building or community approvals secured
8 preparation mistakes to avoid
- Ordering before measuring the delivery route. Panels that won’t fit through a door or stairwell cause costly delays.
- Leaving carpet under the sauna. It traps moisture and creates a fire and mold risk.
- Plugging into an existing socket. Most traditional saunas need a dedicated hardwired circuit.
- DIY electrical work. Always use a licensed electrician.
- Ignoring clearances. Pushing the cabin tight against walls blocks airflow.
- Blowing AC directly at the sauna. It fights the heater and can cause condensation.
- Skipping the vapor barrier on built-in saunas.
- Forgetting the cool-down area. No shower nearby makes the sauna far less enjoyable.
Yes. Bathrooms are popular because the shower is close by and floors are already tiled. The sauna must be kept away from direct shower spray, and the electrics must follow bathroom safety rules.
Ceramic or porcelain tile, sealed concrete and waterproof vinyl are the best options. Avoid carpet and solid hardwood.
Most traditional saunas need a dedicated, hardwired circuit installed by a licensed electrician. Some small infrared saunas can use a standard dedicated circuit; check the manufacturer’s requirements.
For a freestanding infrared sauna, preparation can take a day or two. For a built-in traditional sauna with new electrics and wall work, allow one to several weeks. How to Prepare a Bathroom or Spare Room for a Home Sauna